04.11.2020
How to Build a Drywall Arch?

In this video we demonstrate how to quickly and easily form an arch over a doorway.
Here are the steps we followed:
Before proceeding to shaping the actual arch, it is necessary to have a finished metal frame on the wall and to have a layer of plasterboard installed on one side.
We start by outlining the shape of the desired arch with a pencil on the back of the uncut plasterboard. We measure the width of the door - in our case it is 100 cm and mark the middle (50 cm) with a pencil, then draw a vertical axis. We fix the center of the radius of the arch at half the width of the door + 5 cm and mark the center with a drywall screw. We use a thread and a pencil to outline the trajectory of the arch.
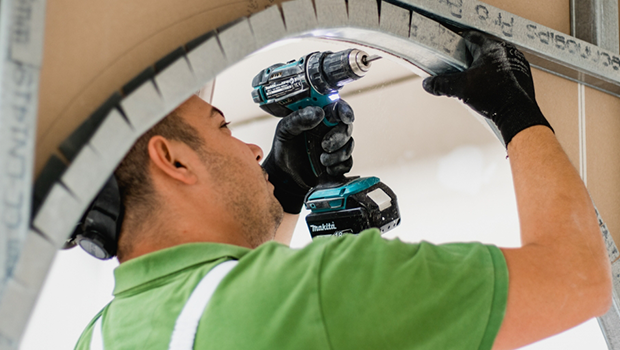
We proceed to cutting the boards along the outlines and smoothing them with a drywall rasp. Then we measure a Premium profile UW with a length of π x r (in our case it is 157 cm). We cut the flange of the profile every 5 cm with sheet metal scissors, then we bend the profile and adjust it along the arch. We fix it with Drywall screws 3.5 x 25.
We proceed to close the other side of the wall with plasterboard and cut out the shape of the arch with a drywall saw.
On the back of a strip of plasterboard, with a width equal to the width of the wall, we make incisions every 5 cm. We mount the strip in the curved part of the arch. We also install strips on the vertical part of the door (we don’t have to make incisions). We fix them with rapid screws.
The arch is now ready and we can proceed to plastering.